
1. This build will be using the 1/48 Hasegawa Ju-87G as a starting point. I'll be using the resin cockpit and radiators from Aires, Brassin MG-81Z, elements from Eduard's zoom PE set, and brass 37mm cannon barrels from Master. I also sourced a vacuuform canopy in the event that the kit parts were to thick to slide over eachother to display in the open position.
Photo 01
2-4. This will depict one of the aicraft flown by Rudel. By what I can tell from the photographic evidence, this particular aircraft was not fitted with the side applique armor, which is also not present in the kit, so no need to worry about that.
Photo 02
Photo 03
Photo 04
5. After separating the resin cockpit parts from the casting blocks, testing revealed a good fit to the fuselage sides after I sanded off quite a bit of the cockpit floor.
Photo 05
6. No rudder pedals are included in the kit, but the Aires set provides these. As I was working I managed to loose one of the photoetch pedals, so to keep things simple and symmetric I raided an Eduard Bf-109 kit to get some plastic German rudder pedals to use in their place.
Photo 06
7. More details being added to the resin floor. The gunner's seat is a combination of the plastic seat basket from the kit and the resin replacements for the legs and mounting supports.
Photo 07
8. Cockpit is primed and ready to paint. I prefer to use a lighter primer for interior spaces on aircraft, especially if the cockpit will be dark as in this aircraft, to give some better visual contrast. I've also sanded off the detail from some areas which will be represented with photoetch from the Eduard zoom set.
Photo 08
9. Base coat done with MRP RLM66 and Tamiya German Grey.
Photo 9
10. Here I've added some of the pre-painted photoetch parts as well as some detail painting on the cabling and various other pieces of cockpit equipment.
Photo 10
11. More cockpit equipment including the seat and pilot's bulkhead with the attached radio equipment.
Photo 11
12-13. Finished painting the cockpit, test-fitting the components here. The fit was a very tight squeeze, and I needed to put the instrument panel in place before closing everything up instead of dropping it in from above afterwards like the instructions suggested.
Photo 12
Photo 13
14. The fuselage halves are together aided by clamps and instant-cure CA glue. Some trimming/sanding needed on the ledges by the cockpit front but that's an easy fix. The pilot's seat was also a bit difficult to get into position from above.
Photo 14
15. To add the resin radiators, it's necessary to cut out the corresponding spaces from the wings. The aftermarket set comes with a photo-etch template, and using that as a guide I drilled out a series of holes to facilitate removing the plastic.
Photo 15
16. To fill the areas that ended up uneven, I used some tape as a straight edge and filled the space covered by the tape with a mix of talc and thick CA glue. Once dry, pulling the tape away leaves a smooth, straight edge.
Photo 16
17. Comparing the resin replacements to the standard kit representation
Photo 17
18. Both radiators in place
Photo 18
19. The aileron and flap actuator hinges of the kit are represented by crude triangles of plastic.
Photo 19
20. To replace these, I first cut them out as best I could and then drilled holes at the end where the rods emerged from the wing.
Photo 19
21. I also scraped off and sanded away the incorrect rectangular anti-slip areas on the wing-roots. This version of the Stuka had a series of strakes instead.
Photo 21
22. I represented the strakes with plastic stock.
Photo 22
23-24. I installed the middle canopy, as well as the resin gunsight with acetate film lenses.
Photo 23
Photo 24
25. On the inside of the canopy I attached the dive handles, meant to give the pilot support as he made violent maneuvers.
Photo 25
26-28. A canvas strap to act as the gunner's back support was the final touch in the cockpit.

Photo 26
Photo 27
Photo 28
29. The major components of the aircraft are now attached
Photo 29
30. Here I bent my own actuator rods and inserted them into the cutouts I had made previously
Photo 30
31. Also the interior of the kit's landing light in the leading edge of the wing had no detail, so I added a light made from clear sprue.
Photo 31
32. Many of the vertical frames of the Ju-87 canopy were inside the plexiglas and remained the interior cockpit color. After giving the canopies a coat of RLM 66, I've now masked off those vertical panel lines so they will remain that color after I paint the camouflage on top.
Photo 32
33. The rear of the chin radiator had absolutely no detail or internal structure, and I couldn't find any clear photographs or diagrams of what should be back there. So instead of having the entire inside of the nose structure visible through the radiator opening I covered the inside with some black styrene sheet.
Photo 33
34. Ready for paint
Photo 34
35. After black primer. I decided to use the vacuuform canopy for the sliding section, so I'm using the kit's example as a masking placeholder to protect the cockpit interior while painting.
Photo 35
36. I assembled the brass 37mm cannon barrels
Photo 36
37. The cannon pods received some detailing with plastic and brass rod as well as lead wire to represent the various pneumatic, heating, and electric cables necessary to keep the weapons operational
Photo 37
38. After some paint
Photo 38
39. Gunze RLM 70 went on first
Photo 39
40. Lots of masking required to represent the splinter camouflage scheme
Photo 40
41. Here is the basic camouflage pattern
Photo 41
42-43. The Hasegawa decals had yellowed to the point that the white ink was a cream color. So instead of relying on the kit decals, I painted my own markings with stencils made on a Cricut machine after scanning the kit's decals as a template. This is all paint, no decals added at this point.
Photo 42
Photo 43
44. A gloss varnish finished the early painting steps in preparation for stencil decals and weathering.
Photo 44
45. Here are the painted 37 mm cannons installed into their mounts.

Photo 45
46-47. After several passes with washes and the airbrush to create weathering and exhaust/fuel/fluid stains, I added the stencil decals followed by a flat coat to seal everything in. I also masked and painted the spiral on the propeller spinner.
Photo 46

Photo 47
48. One of the final steps was the replacement of the kit's machine gun with a Eduard Brassin example. Here is the finished item ready to be painted and installed after some basic assembly.
Photo 48
49. Here it is painted and attached into the cockpit. It was very difficult to bend the brass machine-gun belts that came with the Aires set to line up properly with the gun. They're only half-painted in this picture.
Photo 49
50-51. Rear machine gun is not painted and installed. A black oil wash brought out some of the details.
Photo 50
Photo 51
52. I replaced the kit's pitot tube with lengths of aluminum tubing.
53. After assembling the dual ring-and bead sights, I mounted them in their position on the rear canopy. The sides moved with the canopy as it slid backwards, which is why in this final installation only a short length of the gun barrels emerge. I also installed the antenna posts and replicated the aerial wire with Uschi's fine elastic rigging.
Photo 53
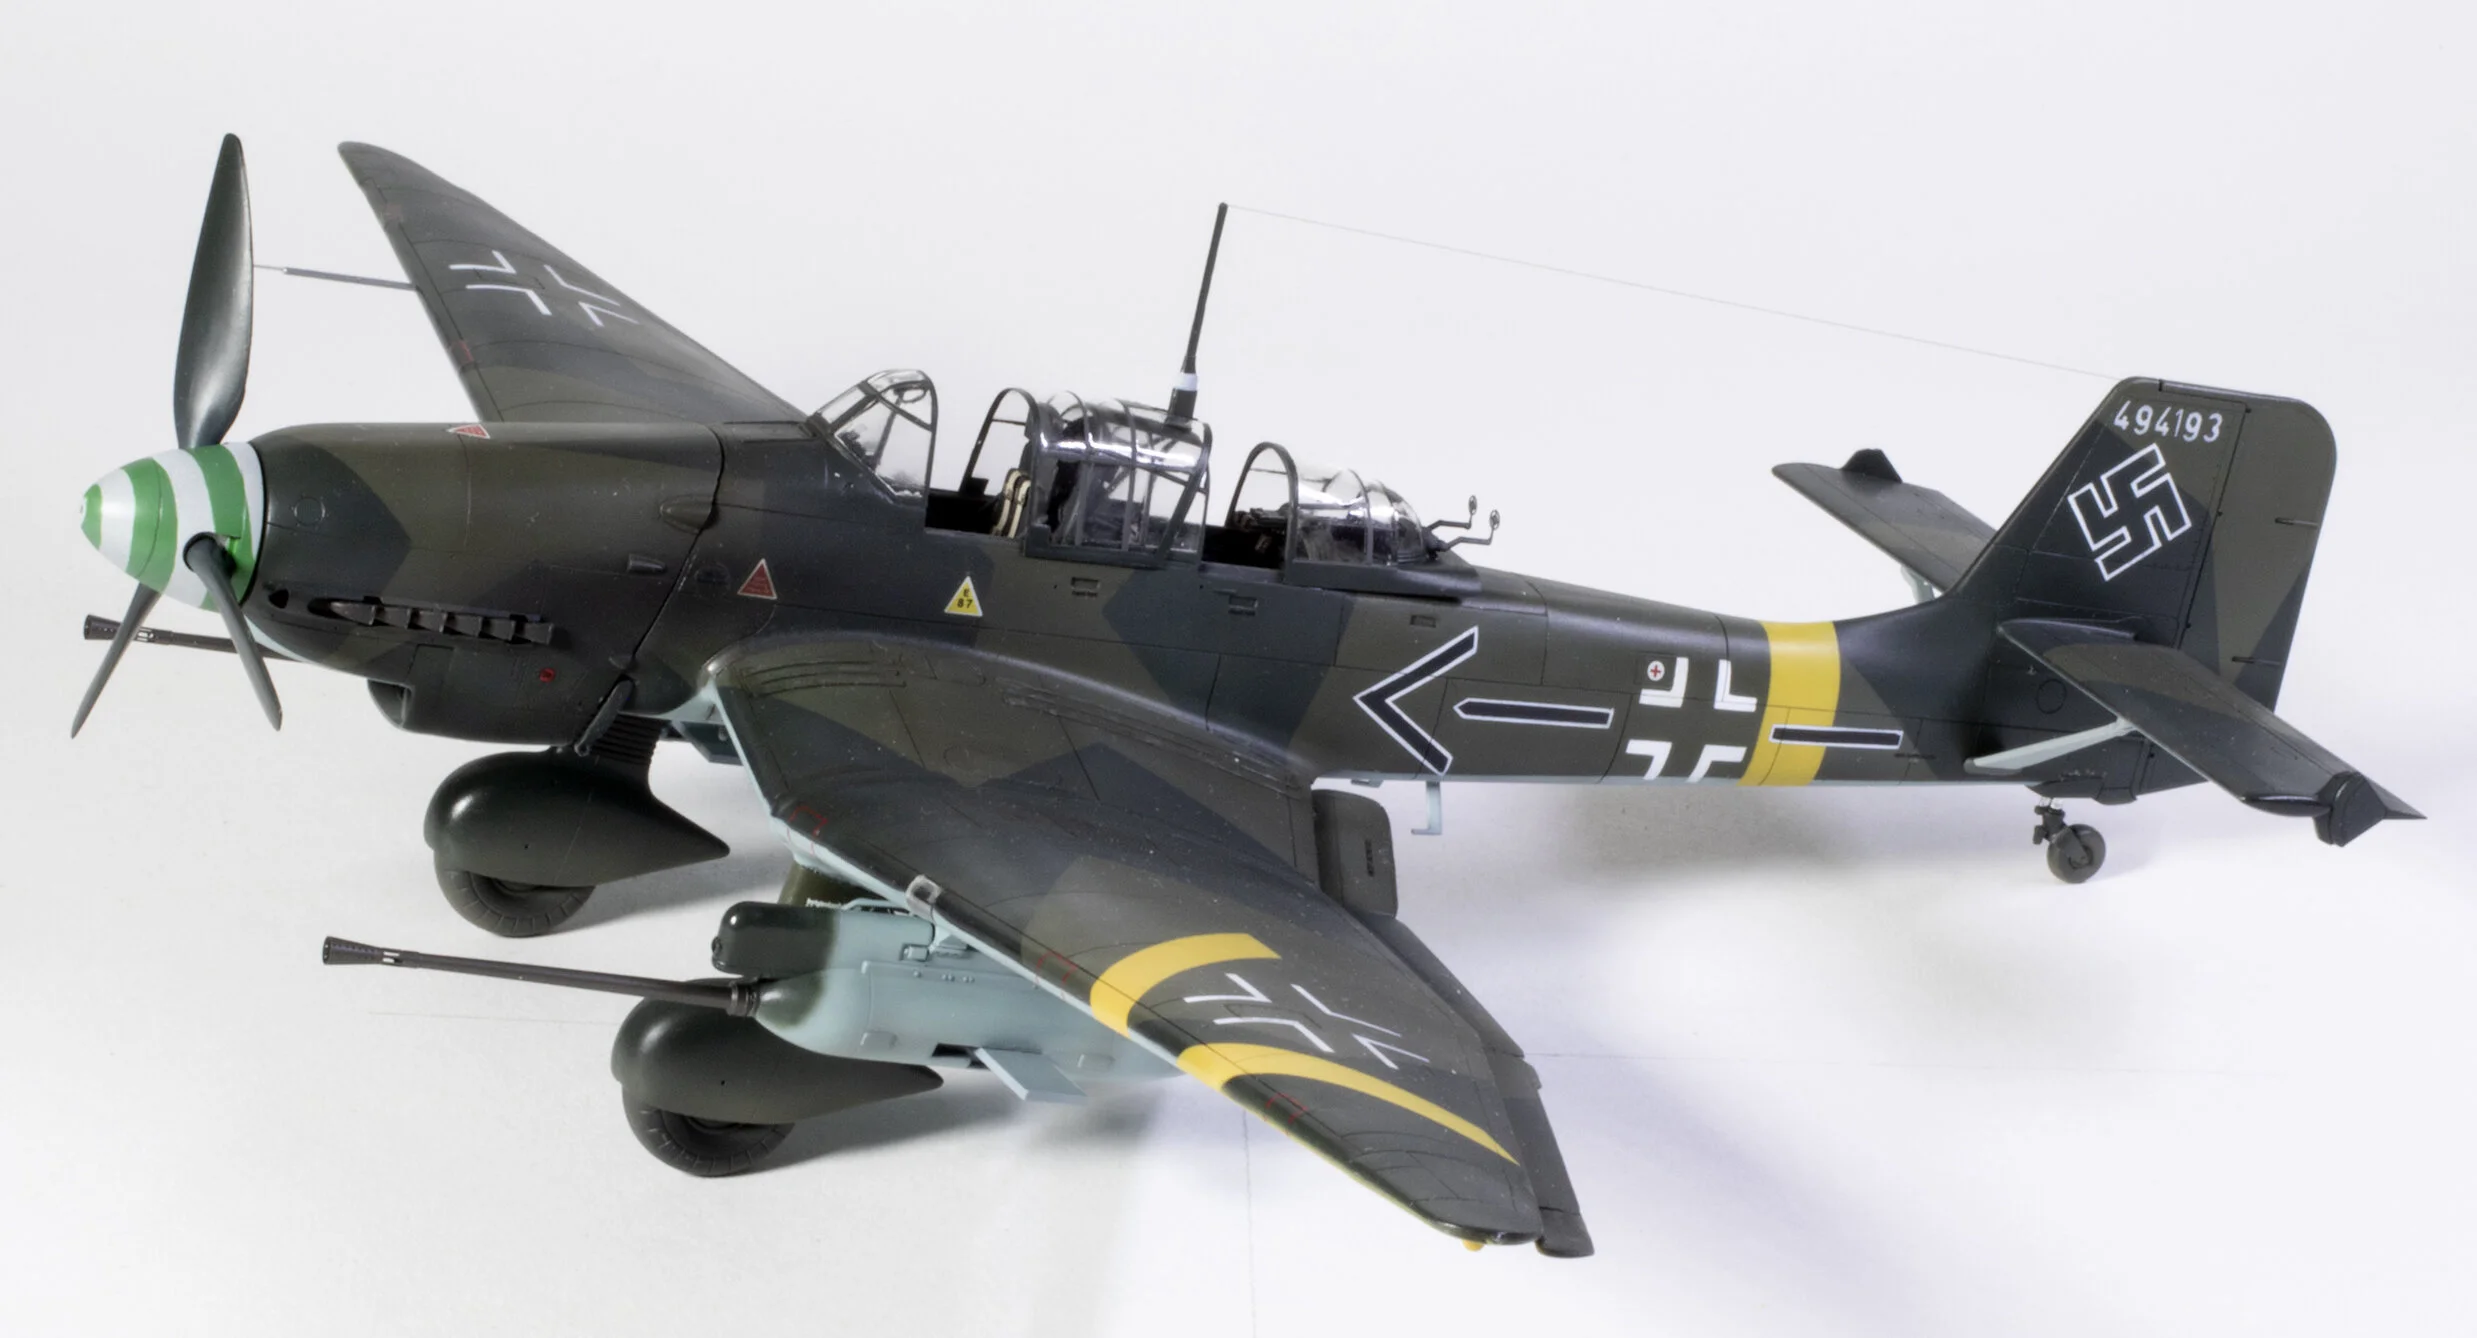
The Finished Model